
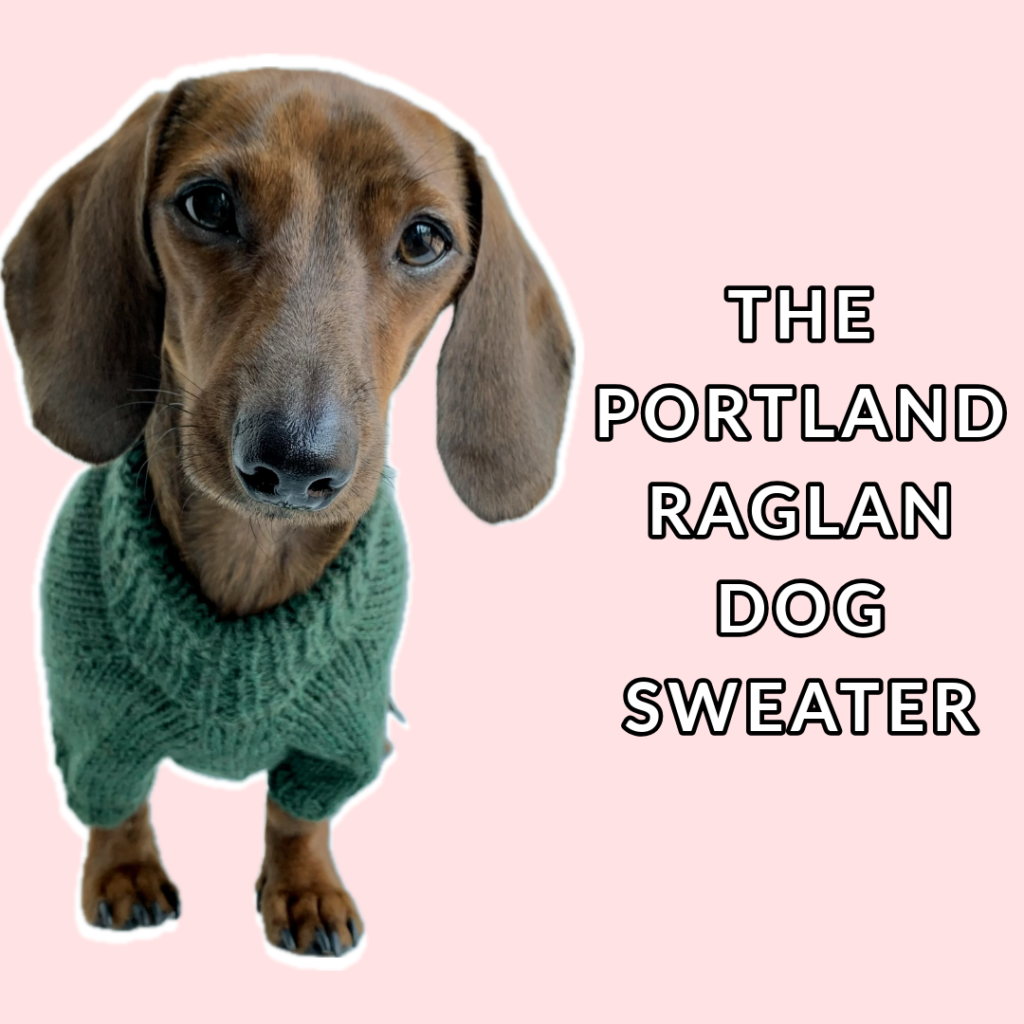
Pattern Summary
The Portland Raglan Dog Sweater is worked from neck to tail using a raglan construction and features a folded neckband and harness hole. This sweater’s classic design makes it a great go-to sweater that can be adapted to fit a variety of shapes and styles. Happy knitting!
Yarn
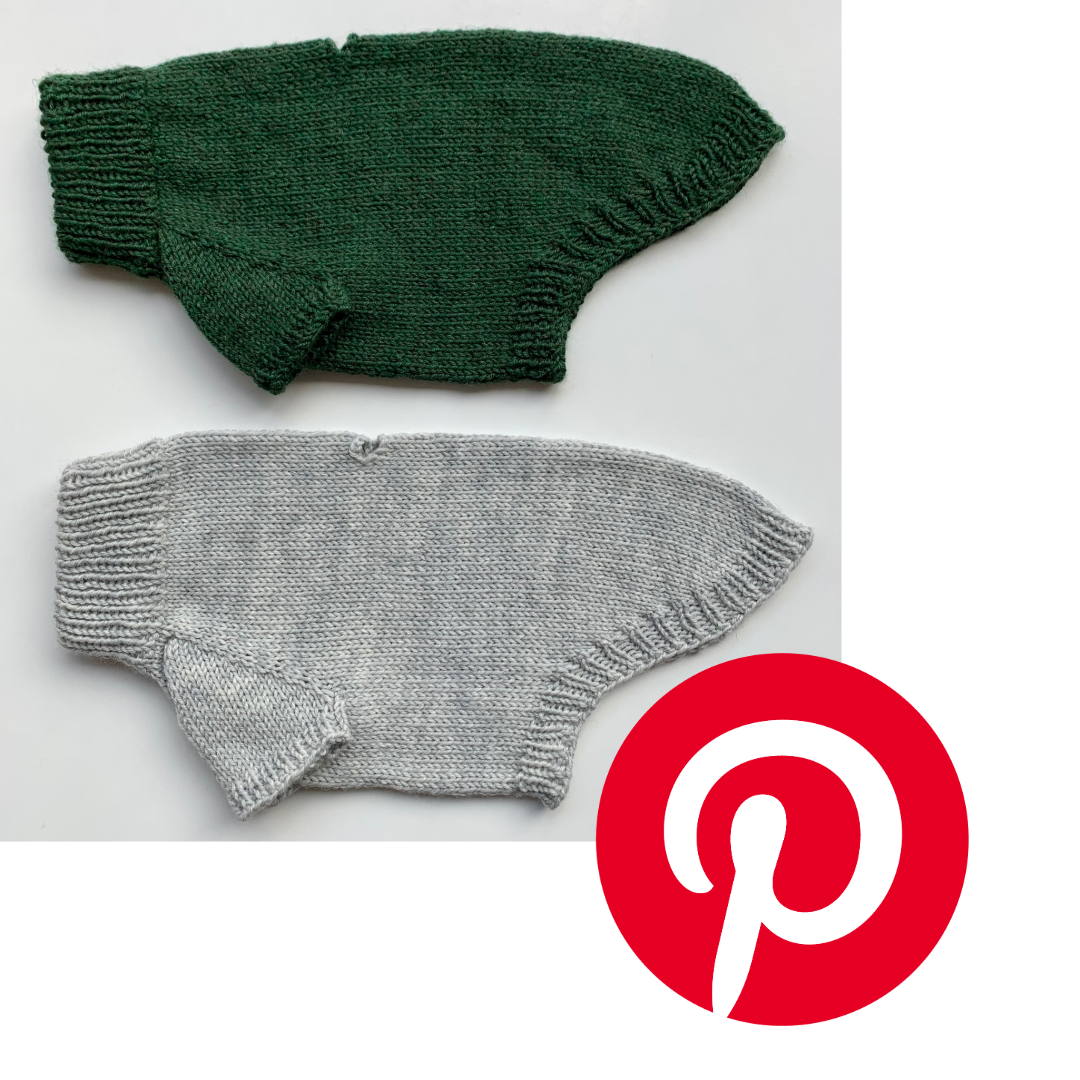
DK/Light Worsted Weight Yarn (number 3 yarn). Cascade Yarns 220 Superwash in Shire (1918) and Sandnes Garn Perfect in Gris Moyen (1042) shown in pictures.
Yardage
Yardage is not provided for this pattern for two reasons: Firstly, since our furry friends come in all shapes and sizes, this pattern is designed to be highly adaptable; thus making it difficult to provide accurate yardage amounts for each size. Secondly, due to time limitations and this pattern being free, I unfortunately don’t have the bandwidth to facilitate testing calls or test each size myself. For yardage approximations, I recommend checking out how much yarn others have used for their projects on Ravelry.
The size small that I made for my dog used 95 grams / 190 meters.
Thank you for your understanding!
Needles
For sizes XXS, XS, S:
Circular needles: 4.5 mm [US7] 30 cm [12 inches] & 4 mm [US6] 23 cm [9 inches]
For sizes M, L, XL:
Circular needles: 4.5 mm [US7] 40 cm [16 inches] & 4 mm [US6] 30 cm [12 inches]
Alternatively, you can use 4.5 mm [US7] & 4 mm [US6] double-pointed needles or 4.5 mm [US7] & 4 mm [US6] circular needles with a long cable for the magic loop method.
Abbreviations
St(s): Stitch(es)
K: Knit
P: Purl
DS: Double stitch
CO: Cast on
BO: Bind off
PM: Place marker
SM: Slip marker
RS: Right side of your work
WS: Wrong side of your work
Kfb: Knit into the front and back of the stitch. An increase.
K2tog: Knit 2 stitches together.
M1L: Make 1 left (left-slanting increase). Pick up the loop between 2 stitches by inserting the left needle from front to back, knit through the back loop.
M1R: Make 1 right (right-slanting increase). Pick up the loop between 2 stitches by inserting the left needle from back to front, knit through the front loop.
Sizes
XXS (XS) S (M) L (XL)
Dog Measurements
| Size | Neck* | Chest | Length** |
| XXS | 21cm [8.25 in] | 30 cm [11.75 in] | 26 cm [10.25 in] |
| XS | 24 cm [9.5 in] | 35 cm [13.75 in] | 32 cm [12.5 in] |
| S | 27 cm [10.75in] | 40 cm [15.75 in] | 39 cm [15.25 in] |
| M | 30 cm [11.5 in] | 45 cm [17.75 in] | 45 cm [17.75 in] |
| L | 33 cm [13 in] | 50 cm [19.75 in] | 49 cm [19.25 in] |
| XL | 36 cm [14.25 in] | 55 cm [21.75 in] | 55 cm [21.75 in] |
| *The sweater neckband is very stretchy, so if your dog has a neck circumference of up to 5 cm [2 in] larger than listed above, the neckband should still fit, albeit a bit more snuggly. | |||
| **The sweater length can easily be shortened or elongated to accommodate your dog’s size. | |||
Gauge
20 sts x 26 rows in stockinette stitch = 10 cm x 10 cm (with 4.5mm knitting needles or needles to meet gauge)
Video Tutorial
You can find the full video tutorial on YouTube here.
Downloadable Pattern
You can also download a PDF version of this pattern here.
Pattern
Neck Ribbing
Cast on 44 (50) 56 (62) 68 (74) Sts on 4 mm circular needles or 4 mm double-pointed needles. Join the work to knit in the round and place a marker at the beginning of the round.
Work in rib (K1, P1) until the work measures 9 cm (9 cm) 11 cm (11 cm) 13 cm (13 cm) / 3.5 in (3.5 in) 4.25 in (4.25 in) 5 in (5 in) from the cast-on edge.
We are now going to knit together the next round of Sts with the cast-on edge to create a folded neckband. Fold the ribbing band inward, so the live round surrounds the cast-on edge:
Using the left needle, pick up 1 leg of the cast on edge stitch, then work a K2tog by knitting the leg you just picked up with the St already on the left needle from the live round.
You should still have 44 (50) 56 (62) 68 (74) Sts on your needles.
Chest/Yoke
Change to 4.5 mm circular needles or 4.5 mm double-pointed needles.
Knit 1 round.
We will set up our raglan stitches by dividing our work with stitch markers as follows:
1 (1) 1 (1) 1 (1) St (belly), PM, 1 raglan St, PM, 4 (4) 4 (4) 4 (4) Sts (arm), PM, 1 raglan St, PM, 30 (36) 42 (48) 54 (60) Sts (back), PM, 1 raglan St, PM, 4 (4) 4 (4) 4 (4) Sts (arm), PM, 1 raglan St, PM, 1 (1) 1 (1) 1 (1) St (belly)
Now, we will work increases on the side of the raglan Sts that flank the arms every 2nd round and work increases on the side of the raglan Sts that flank the belly and back sections every 4th round as follows:
Round 1: *K to stitch marker, M1R, SM, K1, SM, M1L*, Repeat ** 3 more times, K to end of the round* (8 sts increased)
Round 2: K entire round
Round 3: *K to stitch marker, SM, K1, SM, M1L, K to stitch marker, M1R, SM, K1, SM*, Repeat ** 1 more time, K to end of the round* (4 sts increased)
Round 4: K entire round
Work Rounds 1-4 for a total of 4 (5) 6 (7) 8 (9) times.
You have now completed the yoke section and have a total of 92 (110) 128 (146) 164 (182) Sts on your needles.
Body
To set up the body section, place the 20 (24) 28 (32) 36 (40) Sts for each of the sleeves to rest with stitch holders or pieces of scrap yarn while knitting the next round. The 4 raglan Sts should be included in the body. Cast on 4 Sts in each of the arm sections. You can now remove all of the stitch markers, except the one at the beginning of the round.
You now have a total of 60 (70) 80 (90) 100 (110) Sts on your needles.
Harness Hole (Optional)
Round 1: Knit 27 (32) 37 (42) 47 (52), Kfb, BO 4 Sts (begin BO using the extra St created with the Kfb), move remaining St from the BO from the right to the left needle, K2tog, Knit to end of the round.
Round 2: Knit 28 (33) 38 (43) 48 (53), CO 4, Knit to end of the round.
You should still have a total of 60 (70) 80 (90) 100 (110) Sts on your needles.
Midsection
Work 6 cm (8 cm) 10 cm (12 cm) 13 cm (15 cm) / 2.25 in (3 in) 4 in (4.75 in) 5 in (6 in) in the round in stockinette stitch measured from the arm holes or until you’ve reached your desired length based on your dog’s length (Leave 3 cm / 1 in for final ribbing).
You should still have a total of 60 (70) 80 (90) 100 (110) Sts on your needles.
Back Section
We will now work back and forth using short rows to shape the back section. When the pattern says ‘turn’, the German Short Row technique is used to create a double stitch (DS).
Row 1 (RS): K until you have 11 (12) 13 (14) 16 (17) Sts left in the round, turn.
Row 2 (WS): P until you have 11 (12) 13 (14) 16 (17) Sts left in the round, turn.
Row 3 (RS): K to the DS from the previous row (without knitting it), turn.
Row 4: (WS): P to the DS from the previous row (without knitting it), turn.
Work Rows 3-4 for a total of 7 (10) 13 (16) 17 (20) times. You should finish with a WS row. Once you turn the work and create the last DS, you should have 22 (24) 26 (28) 32 (34) regular stitches left. Place a stitch marker after the last DS. This will now demarcate the beginning of the round.
You should still have a total of 60 (70) 80 (90) 100 (110) Sts on your needles. A double stitch is counted as one normal stitch.
Back Ribbing
Work 6 (6) 7 (7) 8 (8) rounds in rib (K1, P1). Work double stitches as normal stitches.
You should still have a total of 60 (70) 80 (90) 100 (110) Sts on your needles.
Bind off your work using your preferred stretchy bind off method.
Stretchy bind off suggestions:
VeryPink Knits’ Simple Stretchy Bind Off: https://youtu.be/SbzeEg6XMwM
Jeny’s Surprisingly Stretchy Bind Off: https://youtu.be/X1hD4mYE3RE
Sleeves
We will now work the sleeve Sts that we previously left to rest. Using 4 mm circular needles or 4 mm double-pointed needles, put the Sts that we previously left to rest for the sleeve onto your needles. Pick up and knit 4 Sts in the arm section, where we previously CO 4 Sts to work the body, and place a stitch marker in the middle of the 4 Sts. This marks the beginning of the round.
You should have 24 (28) 32 (36) 40 (44) on your needles.
Knit 1 round.
Work in rib (K1, P1) until you’ve reached the desired length for your sleeve.
Since my dog has short legs, I worked just 3 rounds of ribbing (K1, P1).
Bind off your work using your preferred stretchy bind off method and repeat for the second sleeve.
Weave in your ends.
Pin it!
Feel free to save this dog sweater project on Pinterest for later by clicking here or on the picture below!
Thanks for checking out my pattern! Share your version of the Portland Raglan Dog Sweater on Instagram using #CalicoRadioKnits & #PortlandRaglanDogSweater. I’d love to see what you create!
Note: As our furry friends come in all shapes and sizes, I have received a lot of messages requesting tailored patterns to fit their dog’s measurements. Due to time limitations, I unfortunately cannot give personalized instructions for individual dog measurements. I recommend using the gauge swatch as a point of reference and checking out how others have tailored this pattern on Ravelry.